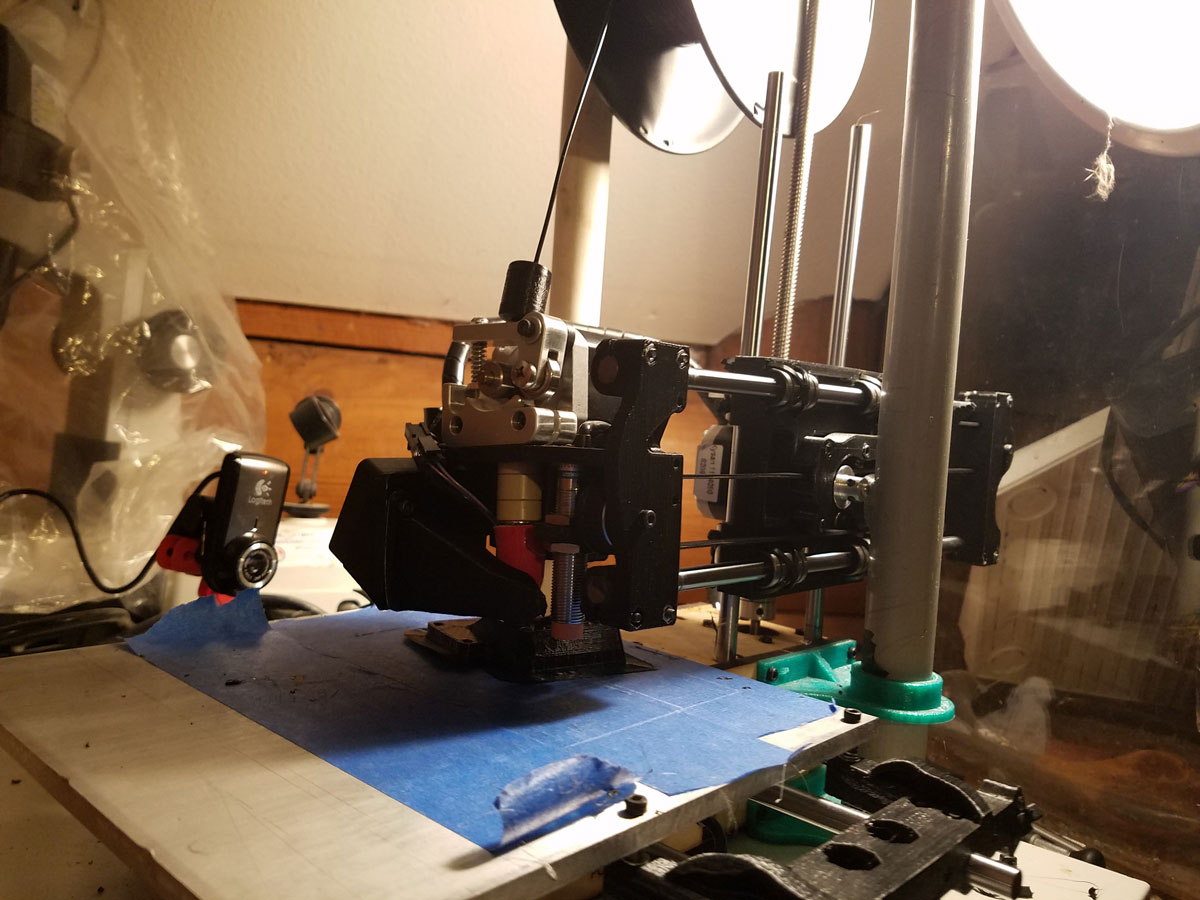
My Bro got one for his birthday. It was a kit so it took us 2 days to put it together.
Step 1 – put it together
this takes well over 4 hours
Step 2- level it
We initially skipped this step (not a good idea)
I also found out that there is some firmware you can update and have the printer use some measurements to level the bed using a calculated plane with a Gcode before you print.
Step 3- Software
It was a bit of a pain in the ass to get the drivers working and it is still kind of confusing to work with. (open and connect with Repetier, print with cura)
Step 4- Print
Videos:
Calibrating Your Auto Leveling Probe – Printrbot
Articles to Read:
I have since printed a few upgrades for the printer. Larger printbed now. Larger leadscrew, double precision y axis.
This article about fan shrouds really makes me think I need a new one or 2!
Current Printer:
My Upgrades:
Printrbot Simple 1405 kit
Y axis no sag, double precision
X axis, single precision
Z-Axis, upgraded to larger lead screw
Bed 8 x 8″ 4mm aluminum plate, leveled with pen springs, M3 bolts, and washers for adjustment
Bought 6 x 300mm rods for the above upgrades, hardware, and belts
Current build envelope is 160mm x 110mm x 150mm
Print with Octoprint, slice on cura, design in sketchup
Links:
Good Article on Tips->http://hackaday.com/2016/07/06/build-a-3d-printer-workhorse/
https://github.com/superjamie/lazyweb/wiki/3D-Printing-HyperCube

